How Do I Roll a Joint? | Learn How To Roll a Joint Easily
- How to Roll a Joint (Step-by-Step Guide)
- What Is a Joint, Anyway?
- What You’ll Need to Roll a Joint
- Step 1: Grind the Cannabis
- Step 2: Make the Filter (Crutch)
- Step 3: Fill the Paper
- Step 4: Shape & Roll
- Step 5: Seal the Joint
- Rolling a Blunt (From a Cigar)
- Specialty Joint Styles
- Pro Tips for Rolling a Better Joint
- What NOT to Do
- Frequently Asked Questions
- 1. What’s the easiest way to roll a joint?
- 2. Do I need to mix tobacco?
- 3. Why is my joint harsh?
- 4. Can I pre-roll joints?
- 5. How long does a joint last?
- 6. How long does it take to roll a joint?
- Final Thoughts
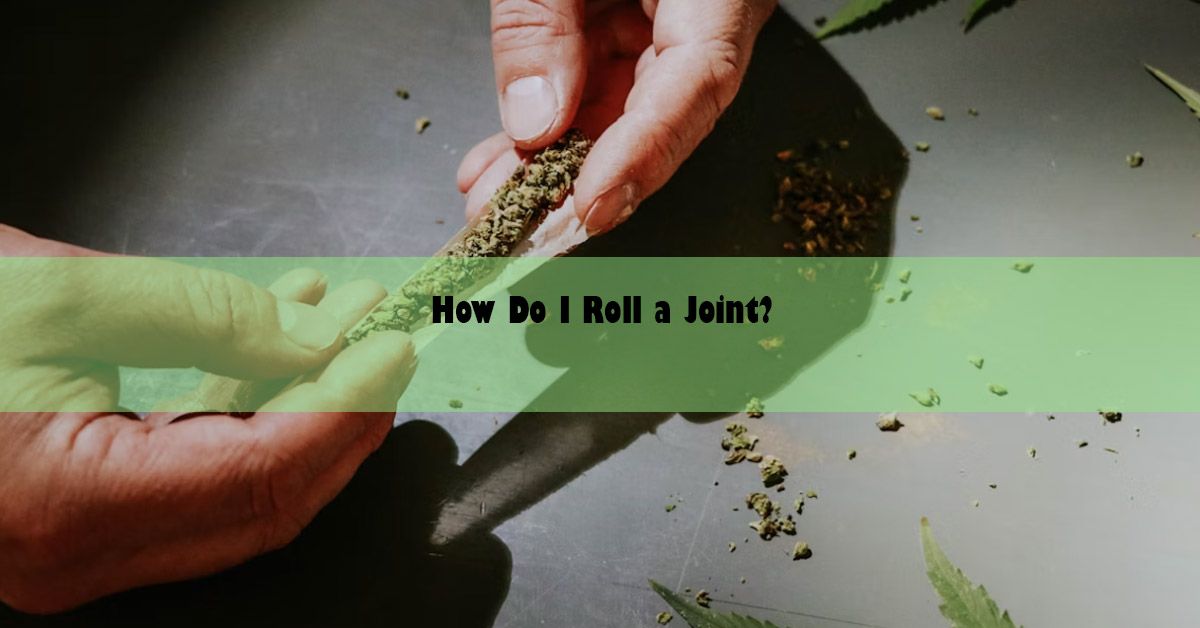
How to Roll a Joint (Step-by-Step Guide)
Ever tried to roll a joint and ended up with a crumpled mess instead of a clean, smooth smoke? You’re not alone. Watching seasoned smokers twist up the perfect joint might leave you thinking: How the heck did they do that?
Rolling a joint is one of the most classic and casual ways to consume cannabis—and with a little guidance, you'll be rolling like a pro in no time.
What Is a Joint, Anyway?
A joint is simply cannabis rolled into a thin paper, typically with a filter (also called a crutch) on one end. While no one knows exactly why it’s called a “joint,” it’s become the most universal term for this easy, portable method of smoking weed.
What You’ll Need to Roll a Joint
Before you get started, gather your tools:
- Cannabis (dried flower/nugs)
- Rolling papers (available in different materials like hemp or rice)
- Filter/crutch (pre-made or DIY with thick paper or business card)
- Grinder (optional but helpful)
- Flat surface (especially useful for beginners)
Step 1: Grind the Cannabis
Start by breaking down your weed. A grinder makes this easy and consistent, but in a pinch, scissors or clean fingers will do. The goal is to create an even texture—not too powdery, not too chunky.
✅ Tip: Dry weed grinds better and burns more evenly.
Step 2: Make the Filter (Crutch)
A crutch acts as a mouthpiece and prevents bits of cannabis from getting into your mouth. If your rolling papers didn’t come with one, make your own by folding a small piece of stiff paper accordion-style, then rolling it into a cylinder.
Step 3: Fill the Paper
Lay out your rolling paper with the adhesive strip facing up and on the far edge. Place your filter on one end. Evenly distribute 1–1.5 grams of ground cannabis along the center of the paper.
✅ Pro tip: Place the paper on a flat surface if you're new to rolling—it’s easier to manage.
Step 4: Shape & Roll
Use your fingers to gently shape the cannabis into a cylinder. Pinch the paper between your fingers and begin rolling back and forth to pack the contents and form the shape. Tuck the non-adhesive side in and roll it up toward the sticky edge.
Step 5: Seal the Joint
Lick the adhesive strip and press it down to seal your joint. Don’t soak it—just a gentle lick will do. Make sure the joint is firm but not too tight (tight joints don’t pull well; loose ones burn unevenly).
Step 6: Pack & Twist the Tip
Tap the filter end gently on a hard surface to pack the cannabis. Twist the open tip to close it off and prevent spillage.
Boom—you’ve rolled a joint!
Rolling a Blunt (From a Cigar)
Prefer a blunt instead? Here's how:
- Take a cigar or cigarillo and moisten it slightly.
- Slice it open carefully and remove the tobacco.
- Fill the hollowed-out wrap with cannabis.
- Roll it back up and seal with a lick.
- Optional: "Bake" the blunt with a lighter to dry the wrap and seal it.
Specialty Joint Styles
L-Joint
Two papers are joined in an L-shape to hold more weed—perfect for groups. Fragile and tricky to roll, but satisfying once mastered.
Tulip Joint
A show-stopper! Made with three papers—one for the stem and two for the flower-shaped bulb at the top. Great for parties, less for practicality.
Pro Tips for Rolling a Better Joint
- Don’t roll too tight—it restricts airflow.
- Don’t roll too loose—it’ll burn unevenly.
- Cone-shaped joints burn better than straight ones.
- Hemp papers are beginner-friendly and burn slower.
- Practice makes perfect—don’t expect perfection on your first try.
What NOT to Do
- Don’t smoke and drive—legal or not, it’s unsafe.
- Avoid using too much weed in one joint.
- Don’t carry pre-rolls in your pocket—they can get crushed.
Frequently Asked Questions
1. What’s the easiest way to roll a joint?
Start with quality weed, a grinder, and good papers. Use a flat surface, don’t overpack, and take your time. Seal tightly and practice often.
2. Do I need to mix tobacco?
Nope! A joint is traditionally 100% cannabis. Mixing tobacco makes it a spliff, which some prefer for a lighter high.
3. Why is my joint harsh?
It could be from dry weed, overpacking, or inhaling too hard. Good airflow and quality bud help ensure a smoother hit.
4. Can I pre-roll joints?
Yes. Store them in a doob tube or airtight container to keep them fresh and intact.
5. How long does a joint last?
A standard joint can last about 10–15 minutes, but the effects may linger for hours depending on your tolerance and how much you smoke.
6. How long does it take to roll a joint?
If you’re new, it might take 5–10 minutes. With practice, you’ll get it down to a minute or two.
Final Thoughts
Rolling a joint is a rite of passage in cannabis culture—and it’s easier than you think. Follow the steps, start simple, and don’t get discouraged. Whether you’re rolling for yourself or your friends, mastering the art of the joint is a skill worth having.
Want a visual guide or printable version? Just let me know—I can create that too!